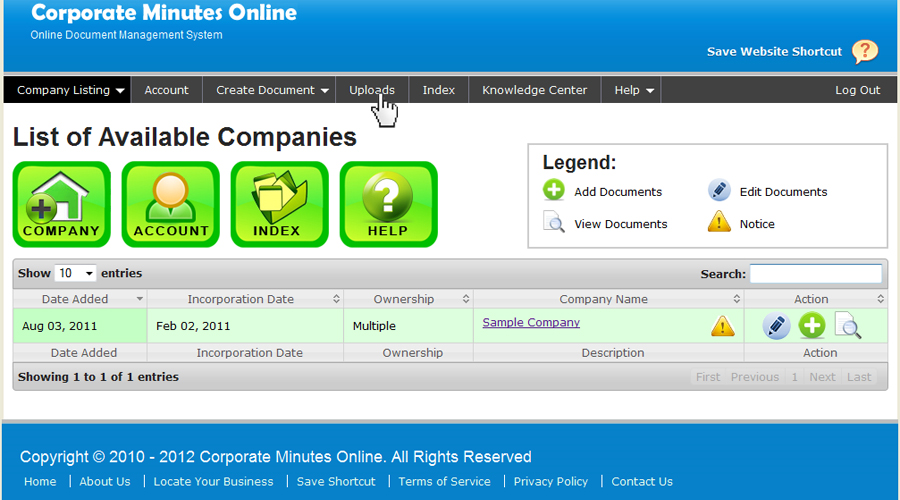
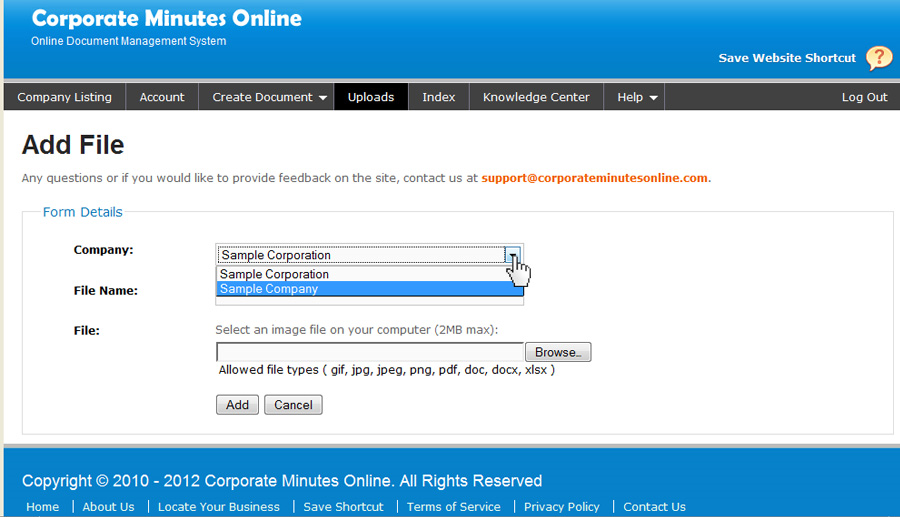
2. From Drop down menu choose corresponding company name
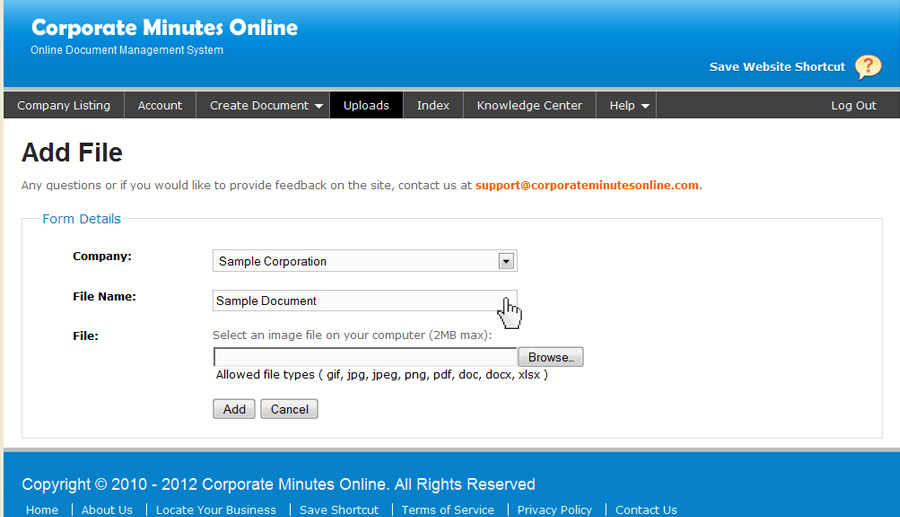
3. Input the corresponding file name of the file to be uploaded
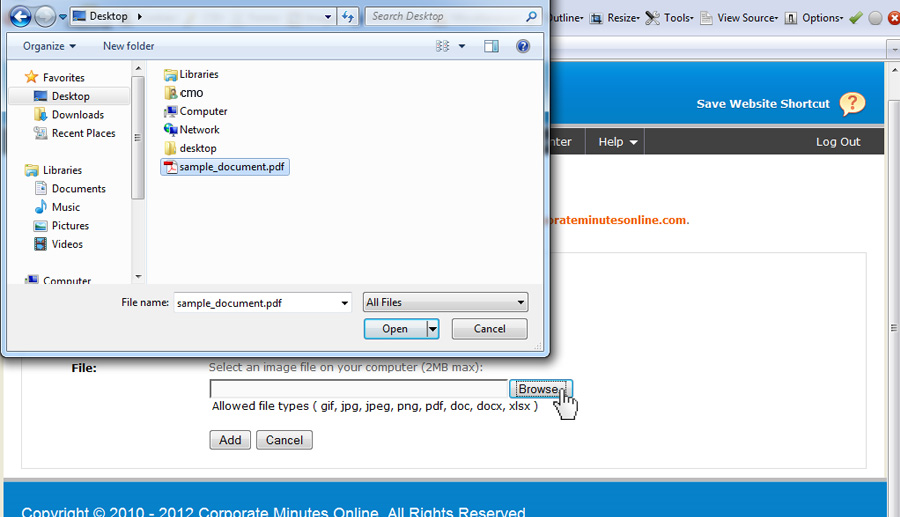
4. Click on Browse to identify the source of the file to be uploaded.
5. Click Add to upload the file
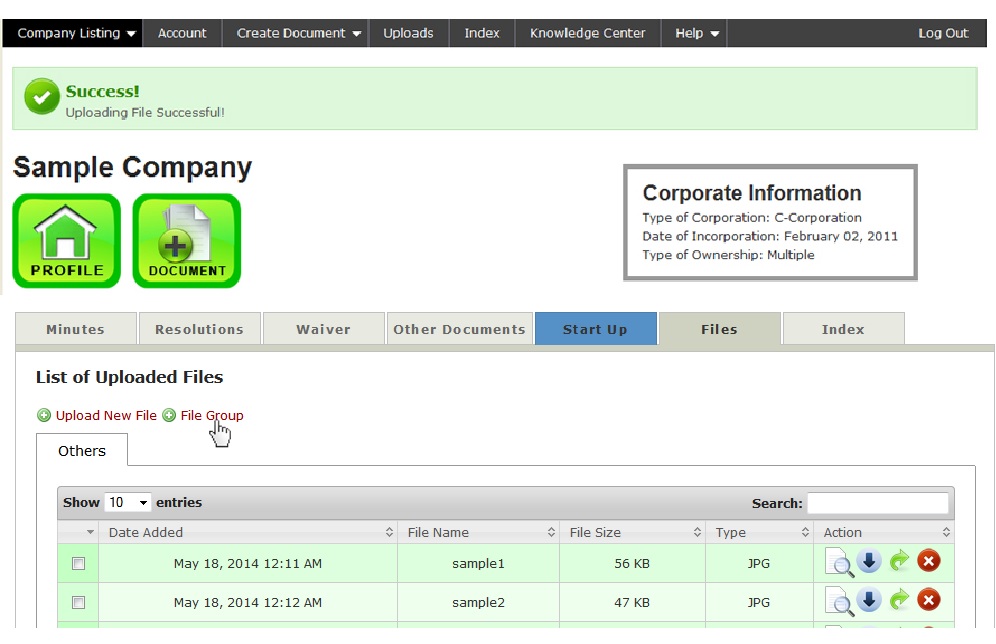
6. Step 6. Once file has been uploaded a "Success" message will be displayed on screen. By default it will be saved in the "Others" folder. Eight (8) folders are available to be used to sort uploaded files. Click on "File Group" to activate a folder
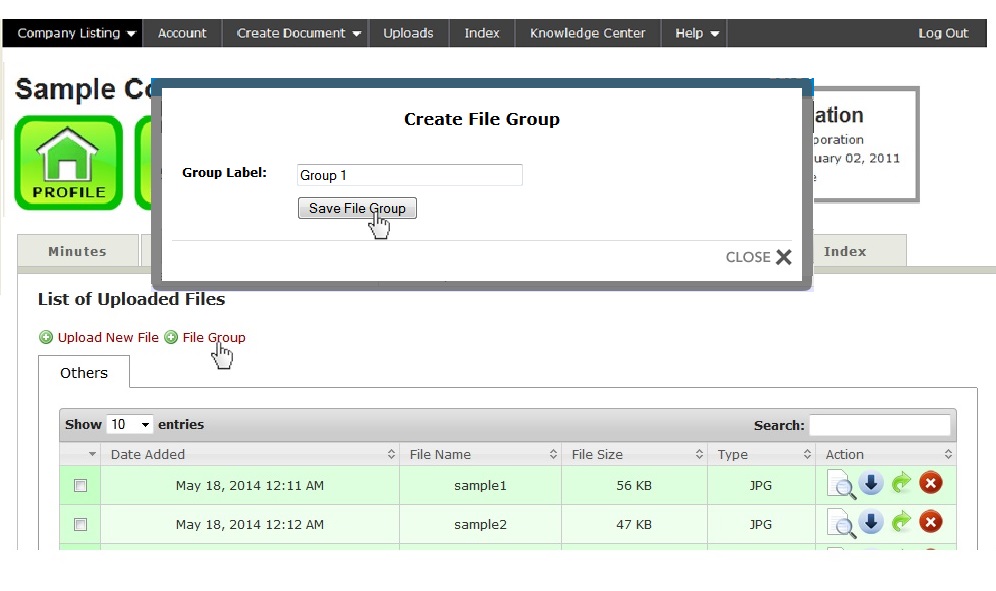
7. Label the File Group with chosen name of folder, then SAVE File Group
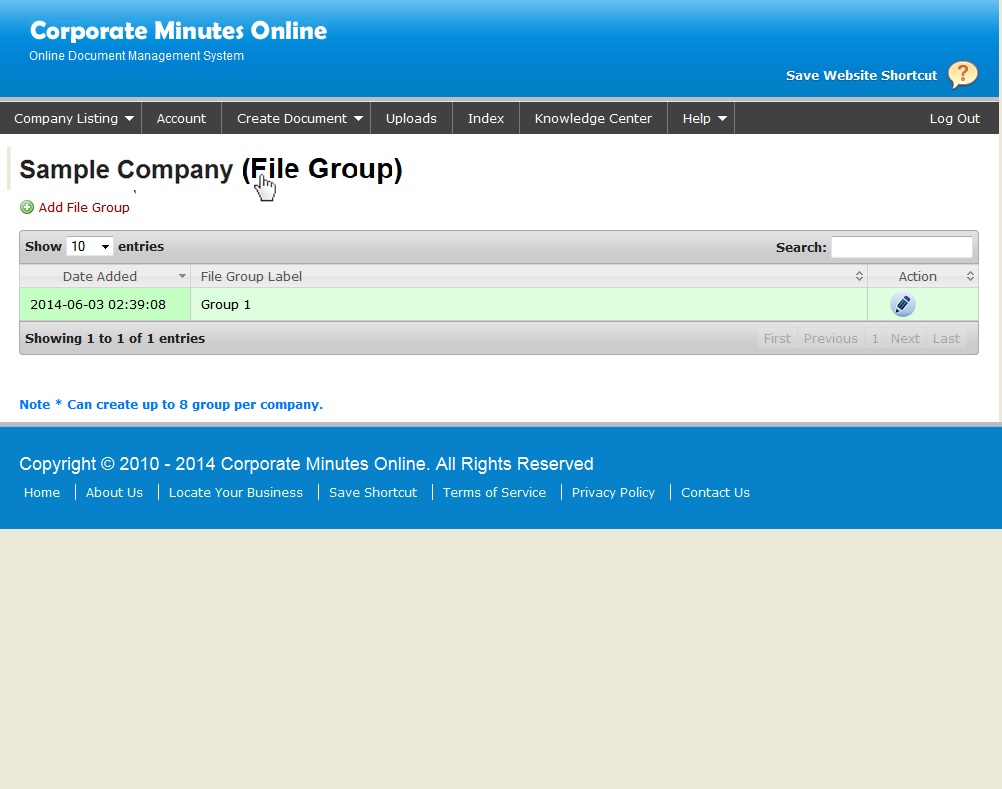
8. New File Group is now created
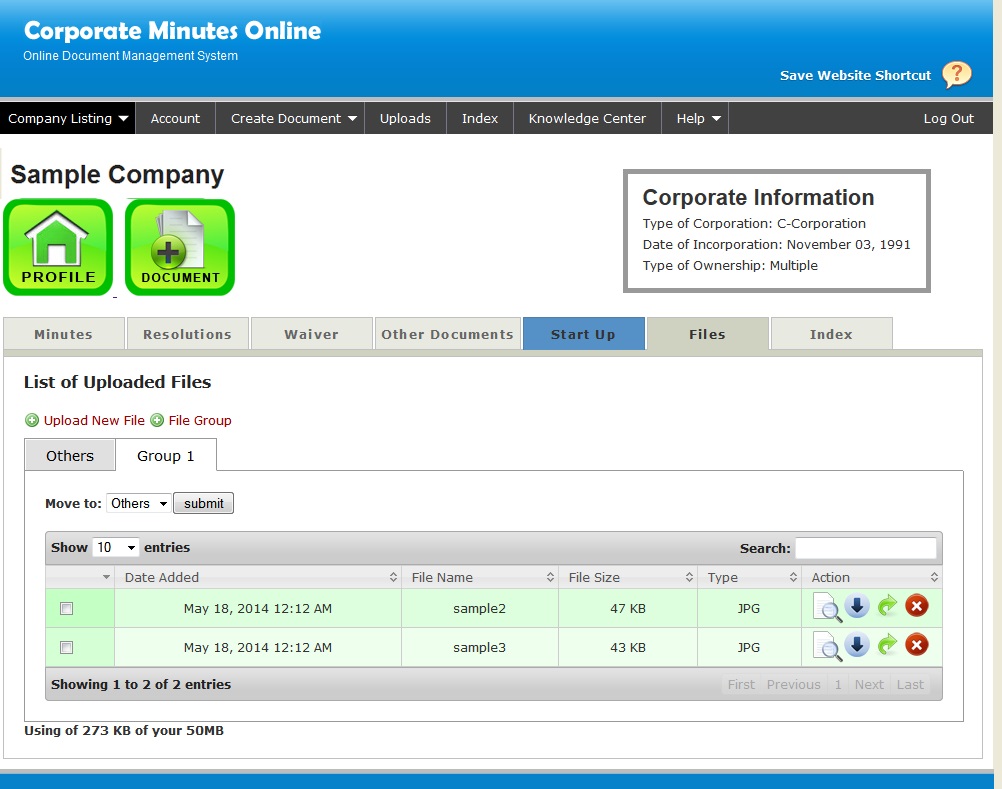
9. Check the box opposite the file to transfer and click submit then choose the desired folder from the dropdown menu
10. The file will be transferred to the chosen folder.